
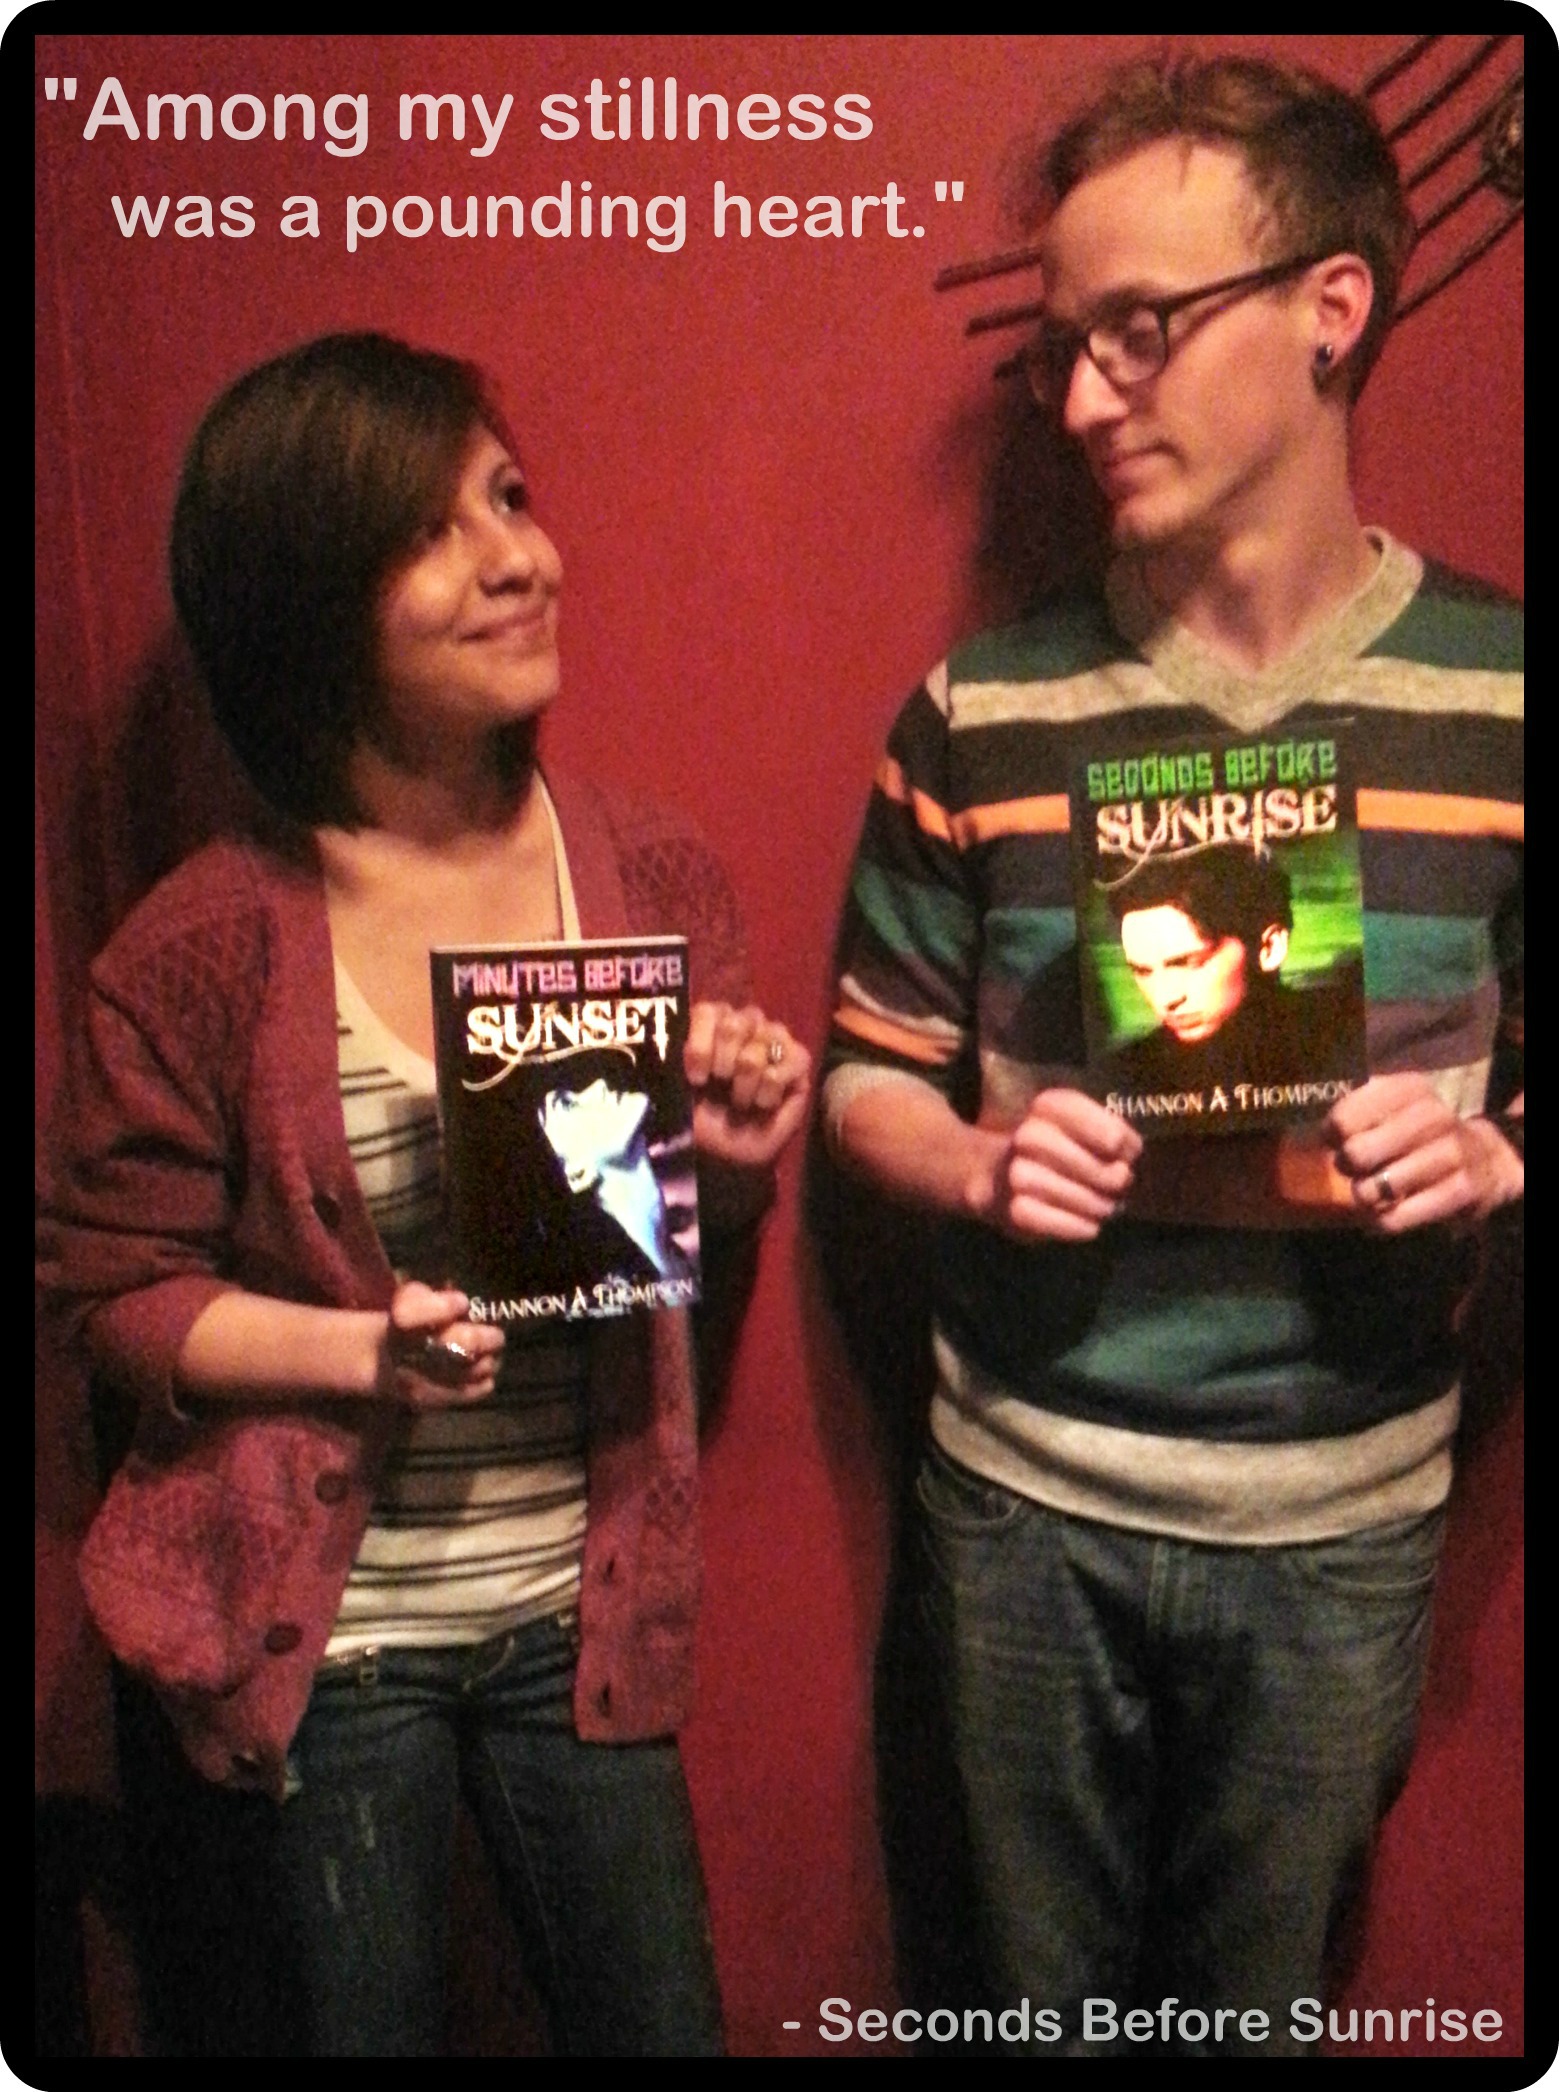
First, I want to thank this beautiful couple for sending me this photo of them reading The Timely Death Trilogy together. They even posed as Jessica on the cover of Minutes Before Sunset and Eric on the cover of Seconds Before Sunrise. If you have a photo with any of my novels, please send it to me at shannonathompson@aol.com. It makes my day! (Even if it’s on your Kindle!) I will share it, your review, and your website if you would like.
Seconds, The Examiner released 3-minutes book reviews: ‘Seconds Before Sunrise’ explores ‘chaos within destiny’. Lionel Green is a wordsmith, and his review reads beautifully, stating, “Thompson explores the humanity of Eric and Jessica so thoroughly in ‘Seconds Before Sunrise’ that the reader forgets the two teens are actually powerful supernatural beings. Thompson also understands no matter how inevitable destinies, fates and prophecies are, when love is introduced into the equation, chaos often ensues.” Read the entire review here. Spoiler alert.
Michael Noll at Read to Write Stories also released the interview I did with him. If you read his, “How to Write A Love Story” this is a wonderful extension. You can see why I chose Kansas as a setting as well as my advice for networking by clicking here.
…
I was actually going to post something else today, but I received so many emails from my fellow authors about my YouTube channel that I decided this was the most important topic I could possibly post about. I am here to help, after all, and I love it when I receive questions and suggestions for my blog because this blog is here to help and connect with you!
So, I am going to explain how I created my YouTube channel as well as the video I made. Granted, I am brand new at this, and I still have a lot that I want to improve on, but I can hopefully share some shortcuts, so you don’t have to spend as many hours researching as I did. I will explain iMovie, Photobooth, Pixlr, and many other aspects like creating an outro.
Step One: Creating the YouTube Channel
I have a Google+, so all I had to do was log on that way and go to YouTube. After that, I went to the top, clicked on my name, and then My Channel. This post is where I started: Channel Art – YouTube: However, don’t download the template. It doesn’t fit. It is designed for T.V. viewing. I would suggest designing your YouTube channel art to fit for YouTube because it will adjust for everything else. Many artists suggest using Gimp, but that requires a download, so I used Pixlr Editor, which is completely free, and it doesn’t requite a download. You can use it to start off as a template, upload a photo, and then click “Edit, free transform” to size whatever picture to the size you need. During design, by aware of your thumbnail and the space on the right where your links will be. Most templates do not mention this, and it can cause you to take up more time because you’ll have to adjust it. As you can see, mine is designed so that you can see my face and links without anything getting blocked out too much. (I am planning on changing it.) Add your links via your Dashboard, because YouTube no longer allows videos to link to any websites outside of YouTube, so this will come in handy during your outro later on, and you cannot change your overall background. That’s no longer allowed in the 2014 version.

Step Two: Creating Your Video
I did not go out and buy a camera, although I am planning to. I just cannot afford that right now, and I think many can relate to that. So I used Photo Booth via my MacBook Pro. With the right lighting, this works. It isn’t perfect, of course, but it works if you’re on a small budget like I am. Record many versions of your video. Trust me: you want many recordings to work with later during editing.While shooting your movie, I am going to suggest that you include long pauses between sentences or topics, because this will help you when you’re editing. Be sure not to move your camera unless necessary because this will also help. I moved the movies to iMovie, which is also already on my MacBook Pro. I am a bit technologically confused, so I used How to Import Videos from Photo Booth to iMovie to do this. Then, I used How do I edit a video in iMovie to understand the basics. From there, I also knew I wanted a censor for my cursing, so I used this: iMovie censor effect. Once I was done with that, I knew I wanted an outro – like an intro but for the ending of your video. If you watch YouTube videos, then you know what this is. It’s that little box that shows previous films as well as links to other videos. To create this, I used How to Make an Outro. As you know, YouTube no longer allows you to link away from YouTube, so you’re going to be linking back to your channel, which is why you NEED those links to be on your home page. To add annotations I used the same video, How to Make an Outro, because he includes this at the end. Again, he uses GIMP, but you can create your own outro (instead of using a template) with Pixlr Editor.

Step Three: Upload Your Video and Share It
Believe it or not, this gets pretty complicated, because the visibility, sound, and everything else can get out of sync with YouTube requirements, so I used this: iMovie to YouTube Tutorial. I also used How to export in iMovie ’11 for uploading to YouTube, because it can matter what version you have, especially since YouTube changes their requirements a lot. Personally, I uploaded it as “Private” so I could add the annotations, and then I released it through “public” later. Be sure to add those SEO terms to your video as well as your channel, and connect it with your other sites, like Google+. This will help.
Now you have your video online.
I know this was fast and a lot of information, but I hope it’s at least a starting place for your videos and channel.
In other news, thank you for your continuous support. As I said on my Facebook author page the other day, I’ve been struggling a lot due to my release. I have explained this before in One of my “Lows” as an Author. Although releases are always positive and uplifting, they take a tremendous amount of energy out of me, and it’s difficult for me to bounce back. But all of your love and encouragement has been helping me so much! I wish I could express my gratitude through this blog post but I could write about it forever. Instead, I just want to say that I love you all so much, and I am sending each and every one of you a hug through the internet today. Thank you.
~SAT

Discover more from Shannon A. Thompson
Subscribe to get the latest posts sent to your email.

Hugely informative & very helpful! You seem to be “bouncing back” just fine. Now to check out your channel!
Glad you found it informative! Thank you for your encouragement.
~ SAT
Great post, thanks for sharing 🙂
Thank you :]
~SAT
Reblogged this on Phoenix Raines.
Thank you for reading and sharing!
~SAT
Very welcome. Enjoy reading all your helpful tips and advice.
Thanks so much for this article! It’s definitely helpful for my channel. I’m just going to have issues with the editing stage because I use Windows Live, and they make it so difficult to do the simplest things that regular Windows Movie doesn’t do. Also, I hope you’re feeling better. I understand the crashes from being so high up on a release day.
Glad to help!
~SAT
Can you please tell how to make the video visible on a post on WordPress. I tried, but it’s just displaying the link 😦
Sure! It’s in your add media. When you’re on a post, click add media. On the left, you’ll see a list. Click YouTube url, search for your video, and add it. It will appear as a link on your dashboard, but the physical video will be on your website, public post.
~ SAT
It appeared as a link on my website. See? http://desirablepurity.wordpress.com/2014/04/06/the-heartless-winter-trailer/ 😦
Go into “edit” & add the link via the YouTube media list in your media library. If you add the link yourself via the link at the top (or copy and paste) it won’t work. You have to add the physical video from your media library. Basically, if you’re copying and pasting anything, that’s not the way to do it. Sorry. I’m trying to explain it via telephone so it’s kind of hard for me to explain. But I believe it’s click add media, add video from YouTube, search for video by name, click on video, and it adds it.
I did just that before… It appeared as a link. Let me try again
It isn’t working… 😦 Do you think it’s because of the theme?